Blog
25 May 2022
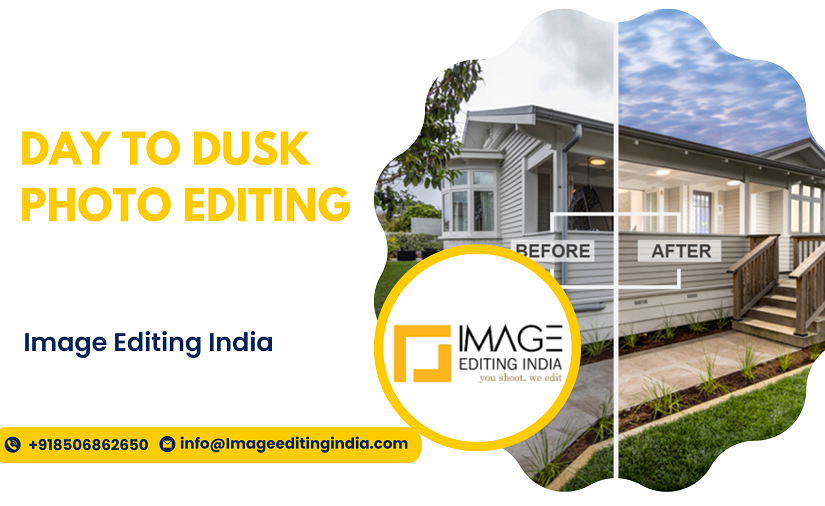
What is Day to Dusk Photo Editing? 13-Point Checklist to Follow for Perfect Conversion Result
If you were to be shown two different photos of a real estate property: one captured during the daytime and one during dusk time, which one will you pick? Most will go for the latter one. Dusk time or twilight photos of a property appear extremely gorgeous. And this is the reason when one wants to make their property listing stand out, dusk photos seem to be gaining in popularity amongst real estate agents as well as property owners selling their property.
Challenges in Capturing Dusk Time Property Photos
While everyone loves twilight photos, capturing these is no mean a task. There are challenges like scarce ambient lighting that could make the picture look grainy and dim. Other aspects that could ruin the image finish are artificial lighting, overcast sky color imbalance, improper color casts, and also weather conditions.
How to Overcome Such Challenge?
To overcome such lighting and weather challenges, real estate agents, businesses, and property owners turn to professional real estate photo editing services which could provide them with day to dusk conversion, so as to provide a result that is flawless and amazingly captivating.
Day to Dusk Photo Editing
Day to dusk photo editing is a professional service provided by professionals to convert the property pictures taken during daylight time into dusk time images, with the result reflecting a visual sense of being taken during the golden hour.
Day to dusk editing is not only suitable for situations when the twilight pictures aren’t captured the desired way, but is also an effective technique when the pictures can’t be taken during daytime but need to be shown as twilight photos to create a dramatic effect.
Why are Dusk Photos so Appealing for Real Estate Photography?
Dusk is often called the ‘The Golden Hour.’ And there is a reason for that. The white light softens at this time, the colors come out impeccably and everything is washed with a golden glow of light that creates a ‘picture-perfect’ finish. This is the time when real estate photographs look astonishingly charming and visually enthralling.
However, it is not that you can get the desired look and feel with just a camera shoot at all times. There can be issues, as we have mentioned above. And it is when a photo editing company for day to dusk photo conversion digitally could come to your aid.
Benefits of Day to Dusk Real Estate Photo Editing
- Create a Magical Finish
It’s not just about adding evening light and skyline to photos. Your daytime capture transcends effectively into a magical work with digital conversion editing.
- Stand Out in Listing
A dusk photo that is ideally edited makes your property stand out from the rest.
- Attract Buyers
The better your listing looks and feels, the more attractive it will be for the potential buyers, improving your property’s sale or rental chances and at desirable prices.
- Ideal Correction
What features to highlight perfectly? What angles and lighting settings make your property look the best in twilight? All these can be adjusted with professional editing.
- Achieve the Capture Not Possible with Shoot Only
Having a shot of the property at the precise moment the evening sun looks better on the property can be a daunting task, and might not culminate effectively. This is when an edit can work wonders on your daytime or even evening picture.
What Checklist to Follow for Day to Dusk Photo Editing?
Day to dusk photo editing isn’t only about adding twilight features but also about keeping the details intact while also highlighting the points impactfully. There are several things that have to be kept note of by the photo editing company to get the desired finish:
- Input Day Photo Requirements
While you can start converting a raw day photo into a dusk capture, this process is quite complicated. So, it would help if you, at first, edit the day photos. To create the right input photo, make sure to follow the below guidelines:
- Your dusk photos should consist of enough sky proportion, as editing that gives a better dusk feel.
- Remove the shadow shade of the day image by about 70 to 80%.
- Contrast the image well to make it dark, which helps to get a better twilight effect.
- Adjust the window shade reflection to make it more natural.
- Sky Replacing
This is the most important element of day to dusk photo conversion. Lay the sky foundation first, and then proceed after picking the suitable sky style.
- Correcting the Shadows
From daytime to dusk, the brightness and shadows go a bit change, and this has to be followed closely in your conversion process. So, adjust accordingly to keep the dusk look realistic.
- Adjusting the Exterior Contrast and Brightness
The exterior portion brightness and contrast have to be adjusted to create the ideal illusion of the sunset time when the day meets the night.
- Adding Lights to the Interior and Exterior
Dusk time is when your property’s lighting will be switched on. So, you can’t miss out on that. Add lights to the indoor and outdoor areas in a way to create a soothing finish that adds warmth to the overall property.
- Color Correction
Color adjustment is also critical for day to dusk conversion, and so is cropping. Ensure that the bright areas contrast well against dark backgrounds. Cropping is specifically helpful when you want to draw attention to certain aspects of the property, as curves come in handy during tough adjustments. However, ensure to use this tool wisely.
- Remove Errors Like Dust Spot
Your conversion should also include removing aspects like dust spots from the image. Also, elements like flash reflection need to be removed to get a professional image in the end.
- Work on the Overexposed Images
Sometimes, some overexposed images can break the overall feel. Modify these lighting aspects and use image contrast effectively to work on the key elements.
- Emphasize Lighting Contrasts
You should factor in lens flares, glass, and other reflections that can cause some distractions. If you master this, then it can lead to beautiful appealing photo edit results.
- Work on Overlays
Using gripping overlay colors like purples, dark blues, oranges, and browns (all for different purposes and aspects) create an inviting and warm feeling with elegance throughout.
- Add Light and Light Spill
Day photos don’t include lighting. Thereby, it makes it important that you use this simulation in your twilight photo finish. Adding light spills to windows for illuminating the background means a more realistic dusk feel.
- Replace the Grass
Daytime clicks show gras with sunshade. Therefore, you have to replace the grass for dusk conversion as it may look artificial, and also the fact that brown and muddy grass reduces the attraction quotient of the property.
- Remove Window Reflection
For day photos, there can be a lot of window reflection distortions like passersby, neighboring houses, vehicles and so. Your day-to-dusk editing should do away with such reflections and should brush up the home-inside glowing light, along with eliminating the shadows
Don’t Forget the Final Retouch
Whatever adjustments it requires, you should strive to achieve a natural dusk look. Your real estate photo editing isn’t complete without a retouch to improve the property’s overall ambiance.